Wednesday, January 26, 2011

Invitation Picture...

Thank you everyone for your opinions on the pictures! I agree with 99% of the feedback from Facebook and the blog...#2!!! It is just so hard to believe that she was that tiny...and that now she is so big! It is funny, when people ask how old she is, I usually get the same response--- "But she is so TINY!" It cracks me up. Because she is very skinny, usually in the 20-25% for weight. But she is usually around the 90% for length! She is just going to be a tall drink of water! LOL!

I added blue border around the pictures. Not sure about that yet...I think I need to live with it for a while. But I like it better than the white. I might try out black and lime green. See how that goes. Thoughts?


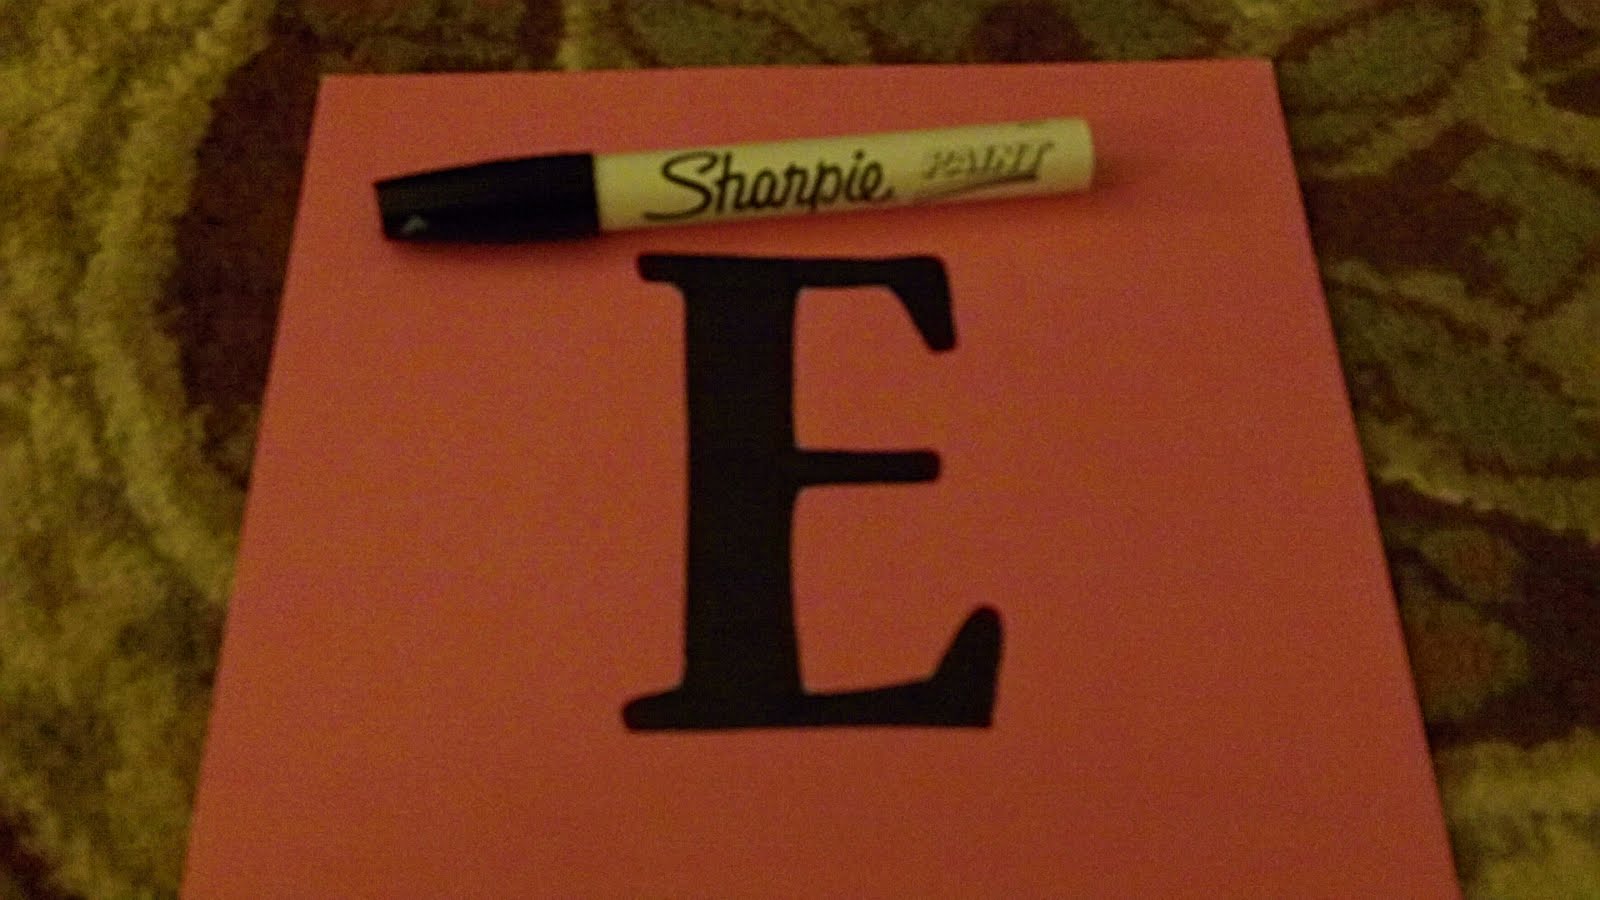
I got one of the canvases painted. This is the small canvas that will be on the favor table. I still have to add the words in the middle (it will simply say "thank you"). But I really like the way it turned out.


And yes, I did it freehand. I can usually freehand most things as long as I have something to look at and kind of "cheat" from. I told you before that I am using cute cupcake cups as the inspiration for the theme. I combined it with zebra print, and have taken three bold colors (pink, lime green, and turquoise blue), and that is the party motif. Here is the picture of the cupcake cup, along with the first canvas that I started and then lost. Seriously, I don't know how you loose a canvas, but I did. OH well. I didn't like the way it was turning out anyway! LOL!

I took the yellow and purple out, just so that I have less colors to worry about incorporating and matching. The large (and it is large- it will probably take me a week to paint!) canvas will have the same look, and it will say "Happy Birthday Ava!"
Til next time!!!


Sunday, January 23, 2011

Invitations...

I am still working diligently on Ava's party. I never thought I would say this (being the event planner wannabe that I am...) but I am sort of looking forward to those pre-packaged, Dora birthday parties that I know are just a few years away! This is wearing me out (and getting pricey!). Anyway...

Currently, I am working on getting the invitation finished. I did graphic design in my career before I decided to be a SAHM, so I was determined to do my own (although I did borrow an adorable line for the front from a ready made invite I saw online...)

Here is what I have so far... (these pictures are just place holders so you get an idea of what it will look like).
We are having her pictures taken by my friend Whitney's sister, Blakelee! She is so talented, and very affordable! If you are in central Arkansas, you should give her a call for all of your photography needs! I will let you know what her blog is, but look up H and H Photography on facebook! You will NOT be disappointed! Anyway, Blakelee is taking pictures for me at the party, too! I am so excited! So the one year picture will be at the bottom. But I need a good picture for the top. I can't use pictures from our newborn session because I don't have the copyrights to them, so I need to pick from what Cole took. So help me decide!!! I know the one I am leaning towards, but I would like to hear what you think!!!

Option 1:

Option 2:

Option 3:

Option 4:


And because I love this picture and it is the first picture I have with my sweet little Ava, I just wanted to share this one with you all. Still brings a tear to my eye when I think about how I felt at that very moment that they handed me my perfect bundle of joy!!!


Saturday, January 22, 2011

All for the Firemen...

NOTE: This is a random and pointless post. I feel compelled to share this with you- so forgive me for wasting your time. :)

I do a number of little tasks before bed.

  • I unload the dishwasher, and reload if needed.
  • I pick up all the shoes around the house and put them in my beloved shoe basket.
  • I pick up the toys and put them away.
  • I wipe down my counter tops in the kitchen.
  • I straighten up the pillows on the couch.
  • I close the shower curtains if they are open.

And I do all of these pointless tasks (because they are, for the most part, pointless.) for the firemen. Yes, the firemen. I have this fear that my house is going to catch fire and the firemen are going to come and put it out and I don't want them to think that we are slobs. Silly, I know. But it is what I do. Kinda like worrying you will get in a car accident because you have on your granny panties and worry about what the EMTs will think. What? You don't worry about that? Oh. Well. Neither do I. Just forget I said anything. ;)

Have a wonderful rest of the weekend!!!

Thursday, January 20, 2011

Banner...finished...I think...

So I *THINK* I have finished Ava's birthday banner. I might go back and add some more ribbon/bows in between the words. I don't know yet...but I welcome your opinion on the matter!!!

So here are the supplies and steps that I used to create this fun little project! I think the end result turned out really cute! Please let me know what you think!!! I only spent about $20 on supplies, although I had most of the "hard supplies" (cutter, paint pen, etc) already.

***DISCLAIMER*** Sorry the pictures are not great. I was tired, I didn't want to find my other camera, so I used my Kodak flip style camera- it takes great video but awful pictures, and I am a bad photographer when I have nothing else to focus on. So taking a picture in the middle of a project is just asking for trouble with me!!! HAHA!

SUPPLIES:
Ribbon- I mostly just used some that I had laying around the house. Yes, I am the crazy lady who buys ribbon for no good reason than it is cute or cheap and I just KNOW that I will use it one day. HEHE! For this project, I have pink tulle, wired zebra, and a wide turquoise satin. The blue is the only one I had to buy.


Mod Podge. Don't ya just LURV this stuff!?!? I do! I use it all the time! I do admit, I was disappointed by the "paper" mod podge. It said that it would not cause those pesky bubbles and crinkles when using on paper. And it lied. But it's still the best product for the job, and it is a "far away" banner that I plan on using outdoors, so I am not too concerned. However, for a banner indoors, I would suggest just using scrapbooking dots or just laminating. (What, you don't have scrapbooking sticky dots or a laminating machine laying around your house??? Shame on you! No worries- you can borrow mine! Yes. I felt the need for those items too.)


An overview of my other supplies- the Mod Podge, a ruler, a sharpie paint pen, foam brush, pencil, hole punch, and a slide cutter. You can use scissors if you don't have a slide cutter. But seriously. They are $10 at the craft store and you will be amazed at how much you use the thing!!! A wise investment, I think!!!

I used 12x12 scrapbook paper for this project. You could also use card stock- which having done it I might suggest. Especially if you are going to cut the pieces into anything other than squares. But scrapbook paper is available in many prints and colors, and you can buy it cheap- just about anywhere, too. I wanted a large banner, so I left my background pieces- the zebra print- the 12x12 size, and cut my colored pieces into 8x8 squares.

My handy stencils. I freehand drawings, but when it comes to words and letters, I rarely freehand. Stencils are my friend!!!

My helper Hugo. He always has to be in the middle of my projects! He is less of a supply and more of a mess!!! HA! But ain't he cute?!?!?


THE STEPS!
First, I measured out and marked 8" on the colored paper.

I used my slide cutter to cut my colored squares down to 8x8 pieces.

I then marked the center of the paper. HINT- If people are not going to be seeing this up close, get a safety pin and find the center of one piece. After you find the center, stack the paper and punch the pin through the middle of all of the pages. It will save you time and no one will know!!!
Then, I traced my letters with my pencil.

Next, I used my sharpie paint pen to color in my traced letters. I use the oil based ones. I don't know why- I just like them better and think they last longer and provide better coverage.


I then placed the colored squares in the middle of the zebra print back paper, leaving 2" on each side.

I covered the back of the colored squares with the Mod Podge and glued them to the zebra.

I paid special attention to the edges, because these will be the weakest part, and the most likely to show imperfections. After the initial coat was dry, I covered all of the squares with a light brushing of mod podge. I like to go diagonal. Don't know why. Just do.

I then used my simple little hole punch to put holes in the top corners of the squares.

I then used my pink tulle and threaded the squares together. After that, I made some layered bows and added to each end of the banner.


FINAL RESULT...
TADA!!!!!!!!!!!!!!!!!

Sorry it isn't a great look at it. I was tired and it is big. But I really like how it turned out! I might add some more bows, like I said. And maybe add another ribbon to hang it on- I am worried the tulle might stretch too much. But overall I am pleased, especially since it was my first try!
I have a lot of people ask me how I figure out projects. I don't waste my money on how to books. Because all of that information is found online these days!!! And I use people- okay mostly my mom, who is much more crafty and creative than I (although she denies it fully)- as a resource. And if I am doing something like this, all on my own. I think about what I want, then work backwards. If you want to do something, picture the finished project in your mind, then disassemble it. I have found that that is a sure-fire way to begin figuring out how to do something!!!

So what projects have you attempted recently? And were you pleased with the result???

Banner Update....

Well I didn't get the banner finished last night. But it is about halfway there, and I gotta say- I am loving it!!!! Here is a sneak peek! ....


Cute huh?!?!?!? I am going to be finishing it up in the next few days, and when I do I will post pictures of the final result, along with a step by step how to (the "Rachel Way" to do it anyway...I am making this up as I go, people!!!). I am still trying to decide if I like the squares or if I want to put my handy dandy circle cutter to use and make them round. Suggestions? BTW, I am about to make tags for the buckets that the favors will go in...and I can't WAIT to show those to you!!!!
Have a good (and if you are in Arkansas- snowy) day!!!

Wednesday, January 19, 2011

Wish me luck....


I plan on starting (and hopefully finishing) Ava's birthday banner tonight. I don't know why I am so nervous about this. It is literally going to be made out of less than $20 worth of scrapbook paper and ribbon. I have an $80 canvas I am painting for her birthday, too (granted I got it on sale), but am I nervous about that? Noooo! No, I am nervous about doing the dinky little paper banner that I plan on hanging outside the building. Why? Because I have never done this before. And although I consider myself to be a crafty person, I am not an altogether patient person. In fact, I have discovered that if something doesn't come naturally to me, I tend to abandon it as quickly as I picked it up. Now if I show a natural talent in an area, and enjoy it, I am relentless in my pursuit of perfection- until I get bored. :)


So one of two things will be said in my next blog post...


A. I will proudly and triumphantly (but with great modesty and humility that a southern lady should always have) show off the birthday banner.


OR


B. I will, with disgust and shame, admit my defeat and come up with something else to hang outside the door.


Only time will tell! So...


Wish me luck!!!

:)

Tuesday, January 18, 2011

PAR-TAY PLANS, Miss Arkansas, and My BFF!

So in case you haven't heard...Miss Arkansas, Alyse Eady, won 1st Runner Up at Miss America!!!!!! It is the closest we have come to the crown in SUCH a long time! I am so proud of Alyse! She is an amazing young woman, and I have thought so since I met her during her reign as Miss Arkansas Outstanding Teen several years back. If you missed her talent (and all of the news coverage it provoked) just go to YouTube and type in her name. She is incredible!!!

Even more exciting (and it also happened the same night as Miss America) my best friend and former college roomie, Whitney, got ENGAGED!!! She's been waiting on this rock for a while, and I am so happy for her and Tyler! They are an amazing couple and I am so happy for them! He proposed at her parent's house with almost her whole family there! So sweet! Her sister Blakelee (who is an amazing photographer and is going to take pictures of Ava soon!) took the pictures! Enjoy!!!


Tyler and the future Mrs. Thornton!!!

This is my favorite! He is hugging her, she's checking out the rock! HAHAHA!

So in addition to the excitement of wedding news and pageant news, I am still working on Ava's birthday party!!! I have booked a place (my sister's house was just going to be too crowded since we are expecting around 50 people--- so much for a small party!). So we are having it at a local park, at their hospitality house. And I found a magician lady. She is going to just walk around and entertain. And make balloon animals for the kids.
I am currently working on a banner for her party. I LOVE, like L-O-V-E LOVE this one, but seeing as how this is my first try, this might be better attempted maybe next year....
But isn't it ADORABLE?!?!?!?!?!?!? I know. LOVE. Mine will be more like this one...only not Halloweenish....
Still very cute. I have some ideas to really make it a little more...adorable. :)


And finally.... This is not her hat. I know, it has Ava and a 1 on it. But this isn't hers. I found this one on Etsy. I am determined to make hers. I don't know why I want to make everything. I used to think that store bought was so much better. But I know I have the skill. And I have the time- sort of! So I just think that making it shows how much I care. Not that moms that buy their stuff care less. I just really want to make this party in particular special. It will not only be a celebration of her first year of life, but also a celebration of the end of a LONG, HARD time in our lives. :)
I want hers to be very much like this one! SO CUTE!!!

And also, I have a prayer request. Cole is applying for a job...I can't say too much. But this job would be a HUGE HUGE HUGE blessing for our family. In so many ways. He has been working on getting a job closer to home for some time now, and it always seems like doors are just closed to him. But I have such a positive feeling about this one. Things are just falling into place, working out. And I just wonder if this is why all the other doors seemed closed. Just pray that if this is the right job for him and our family, that the path would be laid out. And that if it isn't, that something better comes along. And SOON. :)
Have a great week!


Tuesday, January 11, 2011

A Double Helping....

I know...posting TWICE in one day! I better slow my roll!!!


But I just had to share something really special!!! Ava said "Dada" last night for the first time. It is her official first word. She has said other things before that sounded similar to real words, but they were either muffled by pacis or kinda heard on the monitor (she talks a lot laying in her bed at night). But "Dada" was clear and loud, during playtime before bed! YAY! Of course, Cole wasn't there to hear it, so I didn't want anyone to know until he heard it. Call me weird. I just thought that was important. Especially considering the challenge my family is going through right now (some of you know and will immediately understand- everyone else will understand in April!!!)


He didn't have to wait long! He heard it today! And his face was priceless! It was a mix of joy and wonder and pure adoration. Like he had heard the Lord Himself say it!!! Seeing how much he loves Ava just makes me love him that much more!!! I have always been a Daddy's girl, but seeing the relationship of a daughter and her daddy from the mom's perspective, with the mom's feelings and thoughts- I think that is even better! The two people you love the most- your husband who God has given you to spend your life with, and your sweet little girl who grew in your stomach (and/or heart) for, in my case, 37 weeks- fall more and more in love. It is just a priceless feeling that warms your heart!!!

I just had to share! :)


Hope you enjoy these sweet pictures of Ava and her Daddy (these were taken in November)....


Monday, January 10, 2011

My Snow Angel...

Today is my sweet baby girl's 11 month birthday! WOW! It seems like just yesterday she was born! If you want to read more about the day she was born, check out this post!

We got about 5-6" of snow here in central Arkansas!!! Which almost never happens. At least not without significant ice and sleet too! I was so excited since this is Ava's first REAL snow! We had a bad winter storm the week she was born- in fact the day she was born was really the last bad day, but we had to slide into Little Rock for several doctor's appointments, false alarms, and one early labour during the storm. Yikes!!!


Happy birthday sweet Ava!!!!
Bored with mommy's pictures....


My snowbunny!!! She loved the snow!


Happy baby! (excuse my finger!)


YAY SNOW!!!!!!


As you can see, she LOVED it!!! I guess it came naturally! HAHA!


Hope you are having a wonderful snow day (or regular day)!!!!

Saturday, January 8, 2011

Say Hello to my Little Friends....

***WARNING: With the exception of the Ava pictures, I totally and without hesitation stole every single picture for this post off of the Internet, for no other reason than I am just too lazy to take my own.****


As a mommy, I have made a lot of new "friends." So I thought I would share a few with you all!


Having two dogs (and one who eats something bad and pukes an average of once to twice a month) plus a baby with bad reflux/spit-up issues, the first two are a given. They have saved my carpet and couch from some things like coffee, grease (from home reno stuff), puppy poops, Ava poops, and more digestive pyrotechnics than I really care to think about!!!


These are great too! We have just started doing solids with Ava on a regular basis. She prefers to pick up her plate and toss it to the dogs more often than not. This system has saved her food (and my sanity) on many occasions. The dogs don't like this one too much. We have the divided plates too, and we use those more often than the bowls.


Ava is a very good sleeper. But she didn't really start sleeping HARD through the night until I got this bad boy. $13 and some change on Amazon.com, and our life was changed forever!!! I got the sampler CD because I wasn't sure which Ava would like, and I am glad I did. Because I never would have pegged her for a "dishwasher" girl. But that she is!!! I just put track #2 (the noise of a dishwasher) on repeat every night, and turn off the light! It is really great, and it helps drowned out the loud teenagers next door!!!


And because mommy needs to relax too....


Ahhhhh.....Kendal Jackson Chardonnay! My favorite!!!! (and yes. I stole this picture, too. But MAN I wish I hadn't!!! ;) )


On a bit of a sad note, our beloved Hogs lost the Sugar Bowl. *SNIFF SNIFF* But I am so proud of us for getting there in the first place! Whoo Hoooo!!!! Here are some pictures of Ava in her Hogs Cheer Uniform before the game. Sorry they are not turned right...not sure what happened there or how to fix it???


Poor girl! Her skirt is WAY too big around the waist! She is just SKINNY!

When she smiles really big, one eye gets smaller than the other! It is so cute!!!! :)


It is supposed to snow tomorrow, and I have our warm duds all laid out!!! I can't wait! Hope we get a good one so I can have some fun pictures!!!


Monday, January 3, 2011

Baby Proofing...

Well I am working today on task #2 from yesterday's To Do list. Baby Proofing. This is especially important right now as Ava is really starting to crawl fast and is a very curious baby! I know that they say you can't baby proof everything, but I am going to try! And I am going to try to do it without making my house look like a daycare. Wish me luck!!!

So here is my plan of attack. I have ordered this storage ottoman to replace the coffee table. It will help hide toys and be soft if little bit hits her noggin!!! :)

I have also ordered one of these to cover our fireplace hearth. It is curved and not a usual shape, so a standard cover or edge guard wouldn't work. This is a pricey item, but I think worth the cost. I hope it is. I will review it later for you....

This is what I am working on today. I love UGlu. It is one "As Seen on TV" item that really works. Now I don't think I will be hanging any heavy pictures with it. But I got it in the As Seen on TV aisle at walmart to hold down my bathroom rug. And I have started using it under lamps and things in the living room. It really holds well! As long as you don't have to repeatedly stick and unstick, I think it will do the trick!


A flatscreen TV guard. We have two flatscreen TVs here at the Brewer's. (not counting the flip-down one in the kitchen). One is in our bedroom, mounted to the wall. The other is in the living room. We have it in a tall armoire. But I am still going to lock it to the wall. Too many children die every year from heavy flat screens falling on them! People- LOCK YOUR TV TO THE WALL!!!!! Locks are available online or in Babies R Us stores!


Outlet covers. Ugh. the cheap ones don't work well, and the good ones are WAY expensive! SO my solution- I have a mid-range one for the outlets I don't use often. And I have easy (but $$$) for my outlets I use on a regular basis. We all have our "go to" outlets, don't we?!?!


This is the power strip cover that I have over the strip in Ava's room. I need to get a second for the one in our bedroom. It is great! Super easy and fast to install, and not too difficult to take off to plug or unplug things.


Ava hasn't started standing in her crib yet, but I know the time is close. And I also know that she will chew on her crib as she does everything else. The plastic guards are not always right for the different cribs. Ava's bed has thick (like 2-3") rails on the top, and the sides are curved so the traditional guards won't really work well. But check this out! They make them for the sides too. And they come in all sorts of fun colors and patterns. And if you are crafty and can sew, how easy would this be to make!? You could even use your bedding fabric (if you had your bedding made) or get an extra matching quilt for your store-bought bedding, and make one! EASY and practical. And cute. My kind of combination!!!
I bought these and the flat side pieces that match for our side table in the living room. We will see how they do.....

This is a new type of cabinet lock that I just bought today. Now they are expensive. But they are NO DRILL!!! That is HUGE for me because we just redid our kitchen and I was a nervous wreck putting on the hardware! I don't want to drill into them again! It works with a magnet. That is really all I know about the mechanics. But this is really important to me. Because while I do believe in teaching children where they are and are not allowed to play, I also believe in taking precautions. A family member (who is of the opinion that you should teach kids to stay out of cabinets and not lock them) had his toddler grandson drink toilet bowl cleaner! Hello!?!?

So those are my baby proofing strides thus far. What are your best baby proofing tips???? Help a new momma out! LOL!!!