
So I *THINK* I have finished Ava's birthday banner. I might go back and add some more ribbon/bows in between the words. I don't know yet...but I welcome your opinion on the matter!!!
So here are the supplies and steps that I used to create this fun little project! I think the end result turned out really cute! Please let me know what you think!!! I only spent about $20 on supplies, although I had most of the "hard supplies" (cutter, paint pen, etc) already.
***DISCLAIMER*** Sorry the pictures are not great. I was tired, I didn't want to find my other camera, so I used my Kodak flip style camera- it takes great video but awful pictures, and I am a bad photographer when I have nothing else to focus on. So taking a picture in the middle of a project is just asking for trouble with me!!! HAHA!
SUPPLIES:
Ribbon- I mostly just used some that I had laying around the house. Yes, I am the crazy lady who buys ribbon for no good reason than it is cute or cheap and I just KNOW that I will use it one day. HEHE! For this project, I have pink tulle, wired zebra, and a wide turquoise satin. The blue is the only one I had to buy.
Mod Podge. Don't ya just LURV this stuff!?!? I do! I use it all the time! I do admit, I was disappointed by the "paper" mod podge. It said that it would not cause those pesky bubbles and crinkles when using on paper. And it lied. But it's still the best product for the job, and it is a "far away" banner that I plan on using outdoors, so I am not too concerned. However, for a banner indoors, I would suggest just using scrapbooking dots or just laminating. (What, you don't have scrapbooking sticky dots or a laminating machine laying around your house??? Shame on you! No worries- you can borrow mine! Yes. I felt the need for those items too.)

An overview of my other supplies- the Mod Podge, a ruler, a sharpie paint pen, foam brush, pencil, hole punch, and a slide cutter. You can use scissors if you don't have a slide cutter. But seriously. They are $10 at the craft store and you will be amazed at how much you use the thing!!! A wise investment, I think!!!

I used 12x12 scrapbook paper for this project. You could also use card stock- which having done it I might suggest. Especially if you are going to cut the pieces into anything other than squares. But scrapbook paper is available in many prints and colors, and you can buy it cheap- just about anywhere, too. I wanted a large banner, so I left my background pieces- the zebra print- the 12x12 size, and cut my colored pieces into 8x8 squares.

My handy stencils. I freehand drawings, but when it comes to words and letters, I rarely freehand. Stencils are my friend!!!

My helper Hugo. He always has to be in the middle of my projects! He is less of a supply and more of a mess!!! HA! But ain't he cute?!?!?

THE STEPS!

I used my slide cutter to cut my colored squares down to 8x8 pieces.

I then marked the center of the paper. HINT- If people are not going to be seeing this up close, get a safety pin and find the center of one piece. After you find the center, stack the paper and punch the pin through the middle of all of the pages. It will save you time and no one will know!!!

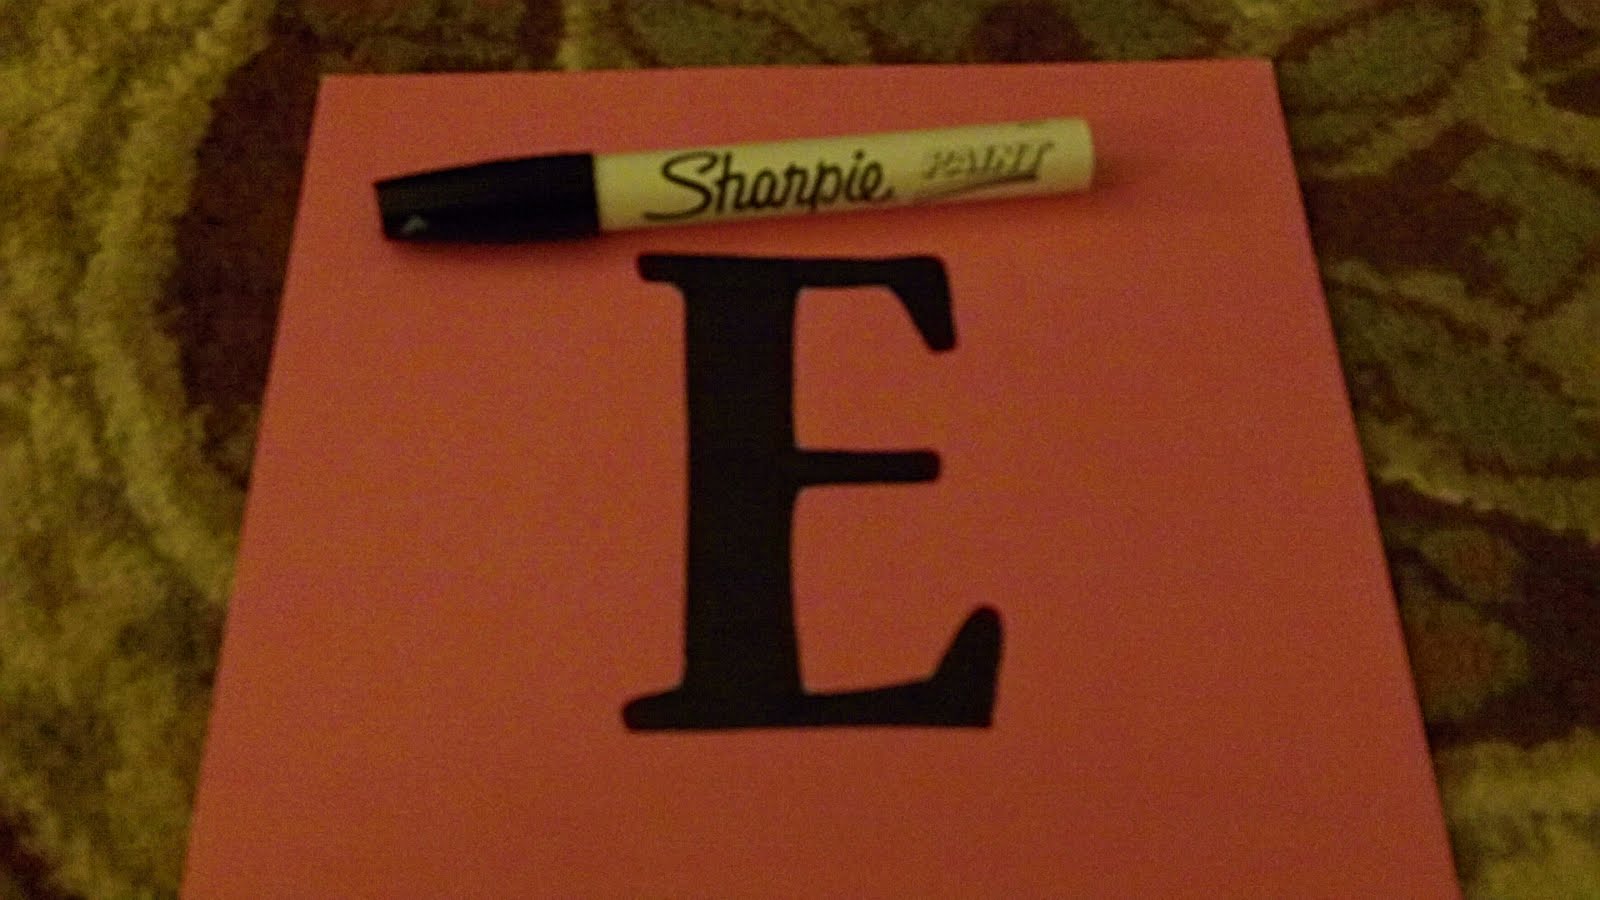
Next, I used my sharpie paint pen to color in my traced letters. I use the oil based ones. I don't know why- I just like them better and think they last longer and provide better coverage.
I then placed the colored squares in the middle of the zebra print back paper, leaving 2" on each side.

I covered the back of the colored squares with the Mod Podge and glued them to the zebra.

I paid special attention to the edges, because these will be the weakest part, and the most likely to show imperfections. After the initial coat was dry, I covered all of the squares with a light brushing of mod podge. I like to go diagonal. Don't know why. Just do.

I then used my simple little hole punch to put holes in the top corners of the squares.

I then used my pink tulle and threaded the squares together. After that, I made some layered bows and added to each end of the banner.

FINAL RESULT...
 Sorry it isn't a great look at it. I was tired and it is big. But I really like how it turned out! I might add some more bows, like I said. And maybe add another ribbon to hang it on- I am worried the tulle might stretch too much. But overall I am pleased, especially since it was my first try!
 So what projects have you attempted recently? And were you pleased with the result???


1 comments:
Look great, Rachel!!
Post a Comment